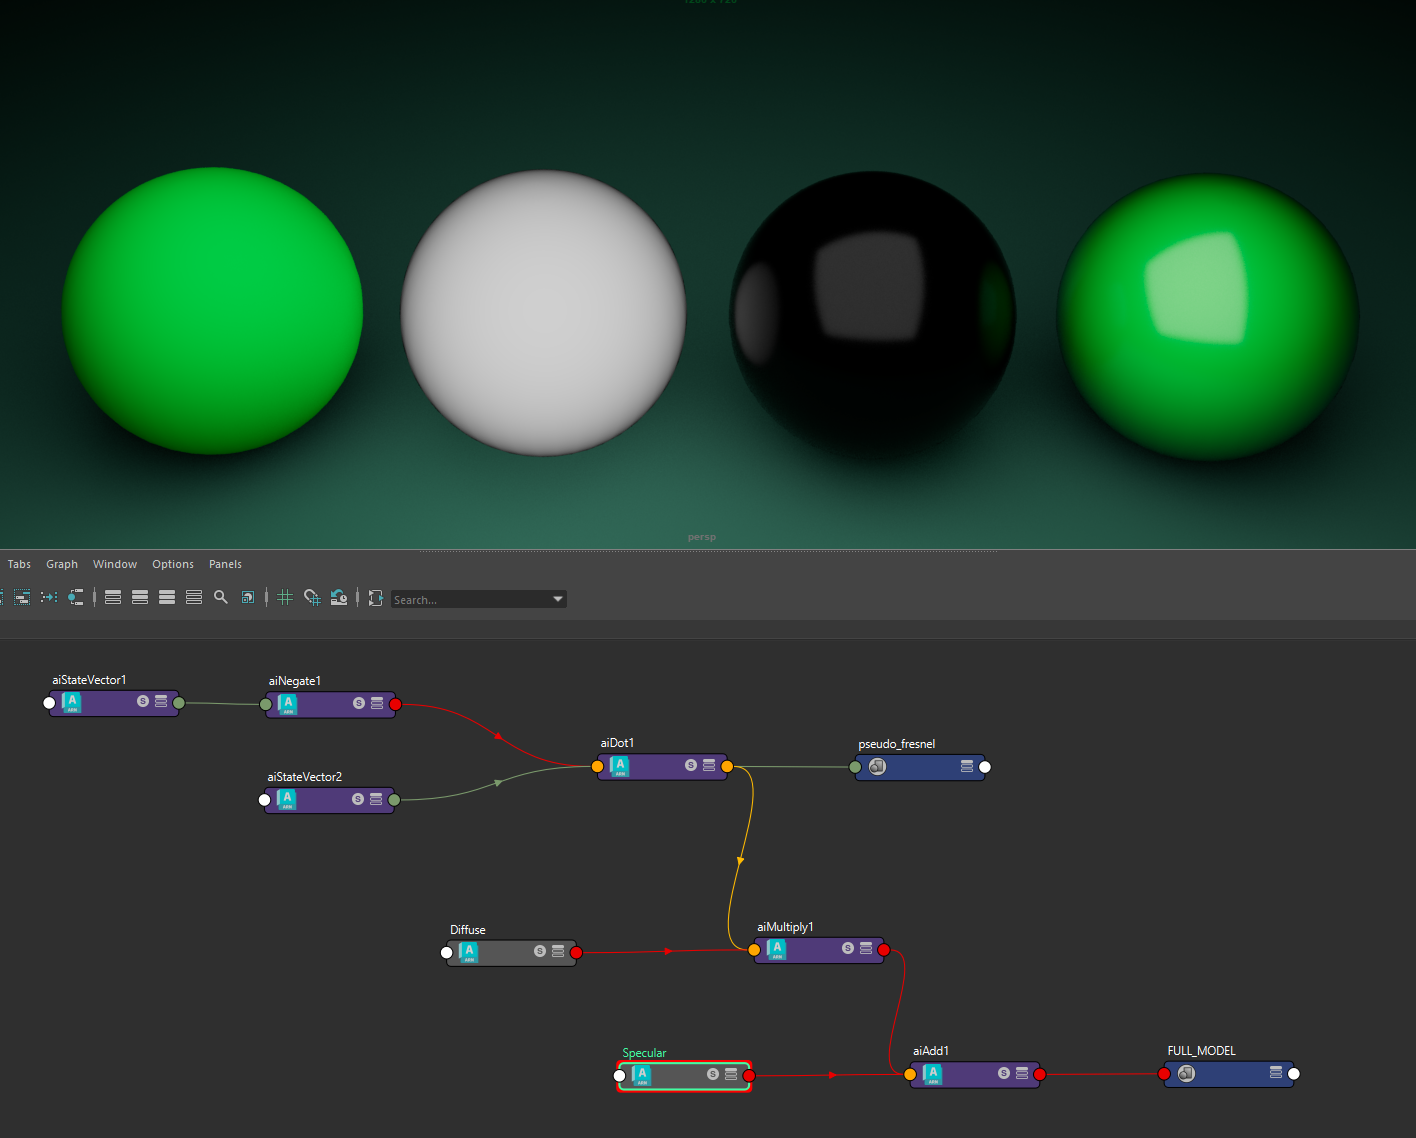
Generally diffuse and specular lobes are layered making use of the Fresnel reflectance at the interface. This simply means that the diffuse lobe is multiplied by 1-Fresnel while the specular lobe is added on top. Practically it means that when Fresnel is at max (at grazing angles) we have only reflections showing up. This ensure energy conservation in the material. Intuitively it does make sense physically because when the specular layer on top of the diffuse is at max all the light is reflected and does not have a chance to go through the specular layer and light up the diffuse base.
This layering model is basic enough that we can approach it on the fly ourself. Here the diffuse is getting too dark at grazing angles because we ain't using a real Fresnel (that should also be based on microfacets) but just Rd.N (direction dot normal). Anyway, the first two outputs are multiplied, the third is added and we get the fourth output.
This is a very easy and fast way to layer lobes however the discourse on the validity of this model is because the real physical way to layer materials should be to do multiple scattering between interfaces (that's what happens in real life.. light scatters multiple times between the two layers) but this would take longer and longer and would also produce much more variance without ad-hoc importance sampling.
However there're many other models that are more physically correct and that return more realistic renditions and also account for effects that the above model simply cannot. One of this is, - interfaced lambertians microfaceting. We won't spend time fully illustrating the model here, we just introduce that this model accounts also for the transmission at the interface and not only for the reflection. It's intuitive to see that if we have a physical layer above our diffuse layer when light passes through .. well the transmission factor should also be managed because if we see the diffuse component .. it means the specular layer on top is somehow transparent. More over, accounting for transmission will produce light backscattering effects that can't be approached with the simple model above.
Interfaced lambertians model is great for plastics, ceramics and generally any rough opaque material with on top a specular layer. While the underlying model is more complex than the simple layering we've seen above its parameters remain even simpler.
Because the model is about both diffuse and specular layers/lobes we consider it a standalone material. When the IOR is at 1.0 we don't have any specular layer computed .. light passes straight to the diffuse layer. Increasing the IOR will bring specular contribution in.
More over, we don't have two roughness params like with the diffuse+specular model, the roughness param here does work for both the diffuse and the specular layers. We've seen in Principled v Generalized that the roughness param has a big influence on the diffuse layer. So let's see how diffuse roughness behaves. Keep in mind that when IOR is at 1.0 no specular layer is computed.
Basically, the rougher the diffuse component the more backscattering we'll have. Values for diffuse roughness are : 0.0, 0.2, 0.5, 0.75 and 1.0.
Then as soon as we increase the IOR param, things start to get shiny. Here roughness is set back to 0 and IOR is at 1.5. You see how the material gives a real sense of lacquering giving deepness to the specular layer.
Now think about this. If reflections are stronger it means we have more reflected rays (vs transmitted rays) .. ie. less rays are going through the specular layer because they just bounce on it. This is another thing that this models can take care of .. diffuse dimming. However it does more. It takes care of chromaticity variations due to the IOR of the substrate on top. The green below (with specular IOR at 2.0) is not only darker but is a slightly different green than with a IOR of 1.5 or of 0. This also means that this model is energy conserving by construction.
Then as soon we have a specular layer controlled with the IOR param we can get back to our roughness and see how the whole model behaves with an higher roughness. Remember this will influence both layers. Roughness here is 0.32.
Let's compare the interfaced lambertian model with the classic one that just adds up layers based solely on Fresnel.

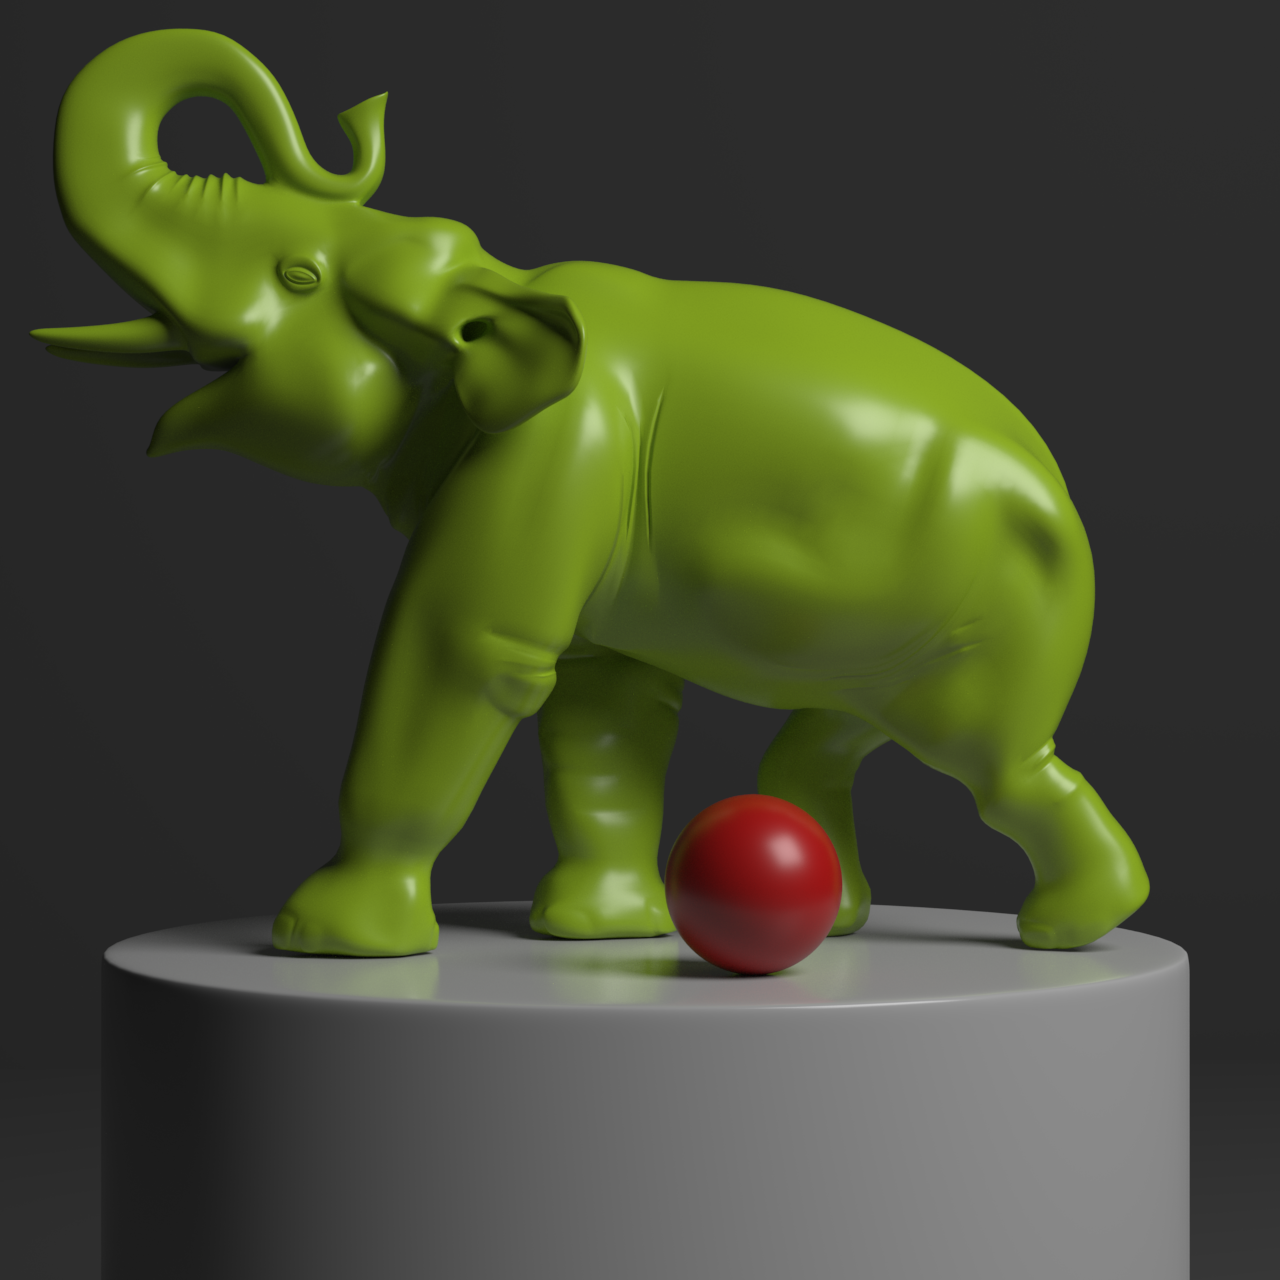
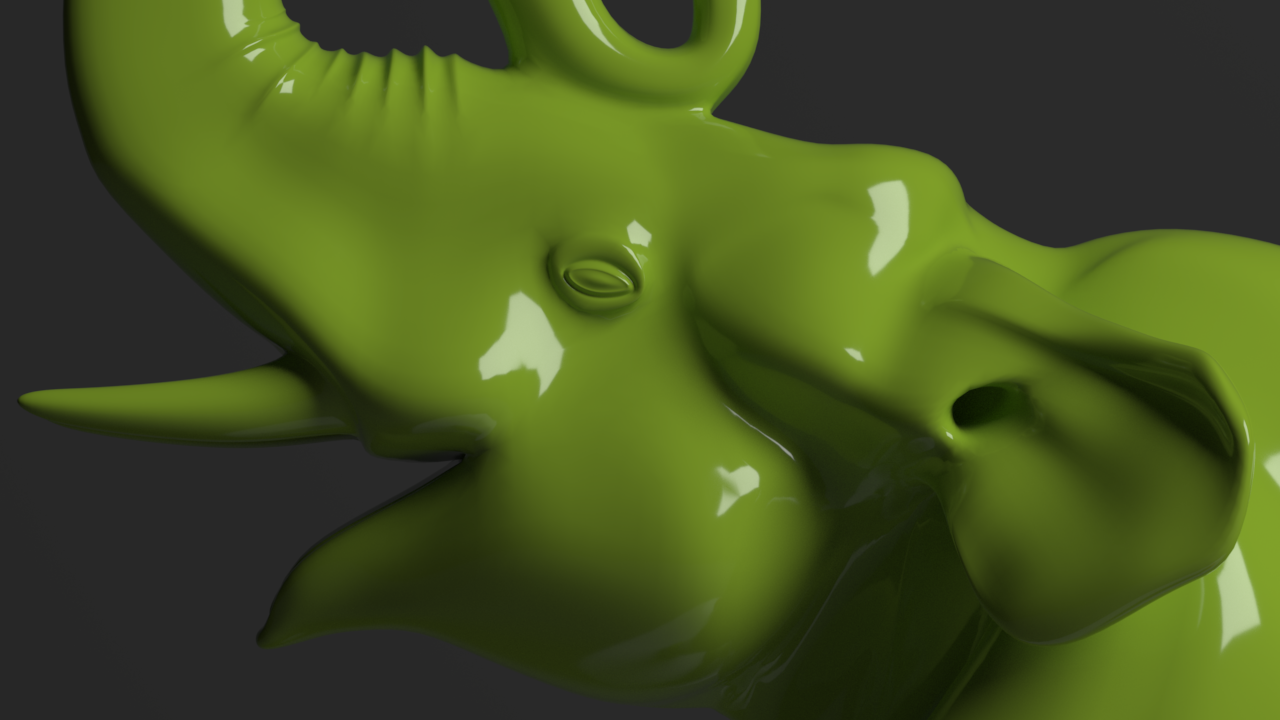
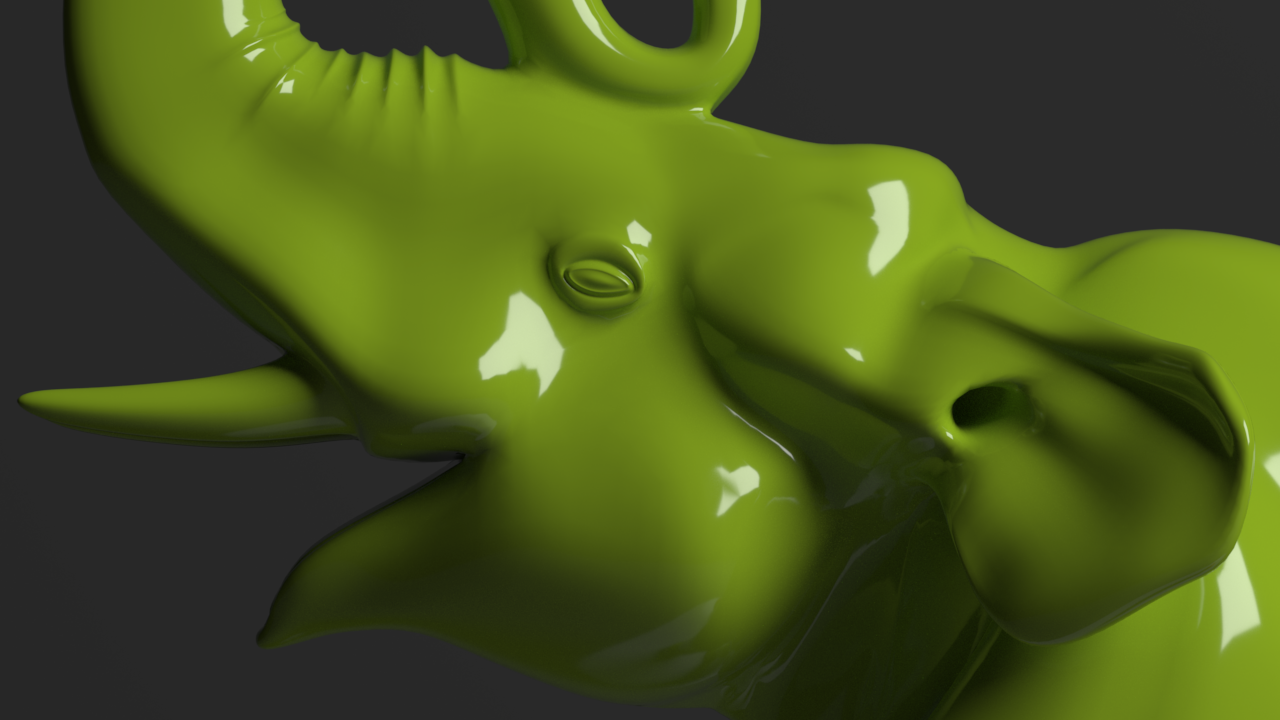
Because the classical model lacks the transmission factor at the interface it looks more flat with less nuances, it's less vivid and contrasted. We can see it a bit better below where we've zoomed in.
One final important thing to consider is that this model is fully stochastic. It means we pick up randomly a layer or the other based on some heuristics like the Fresnel factor. This means that with the same amount of samples it is way faster but it will also exhibit more variance. This ain't coping well if you use other non-stochastics materials (like other rombo materials or arnold std material) because when plain mats will be converged the stochastic one will not.
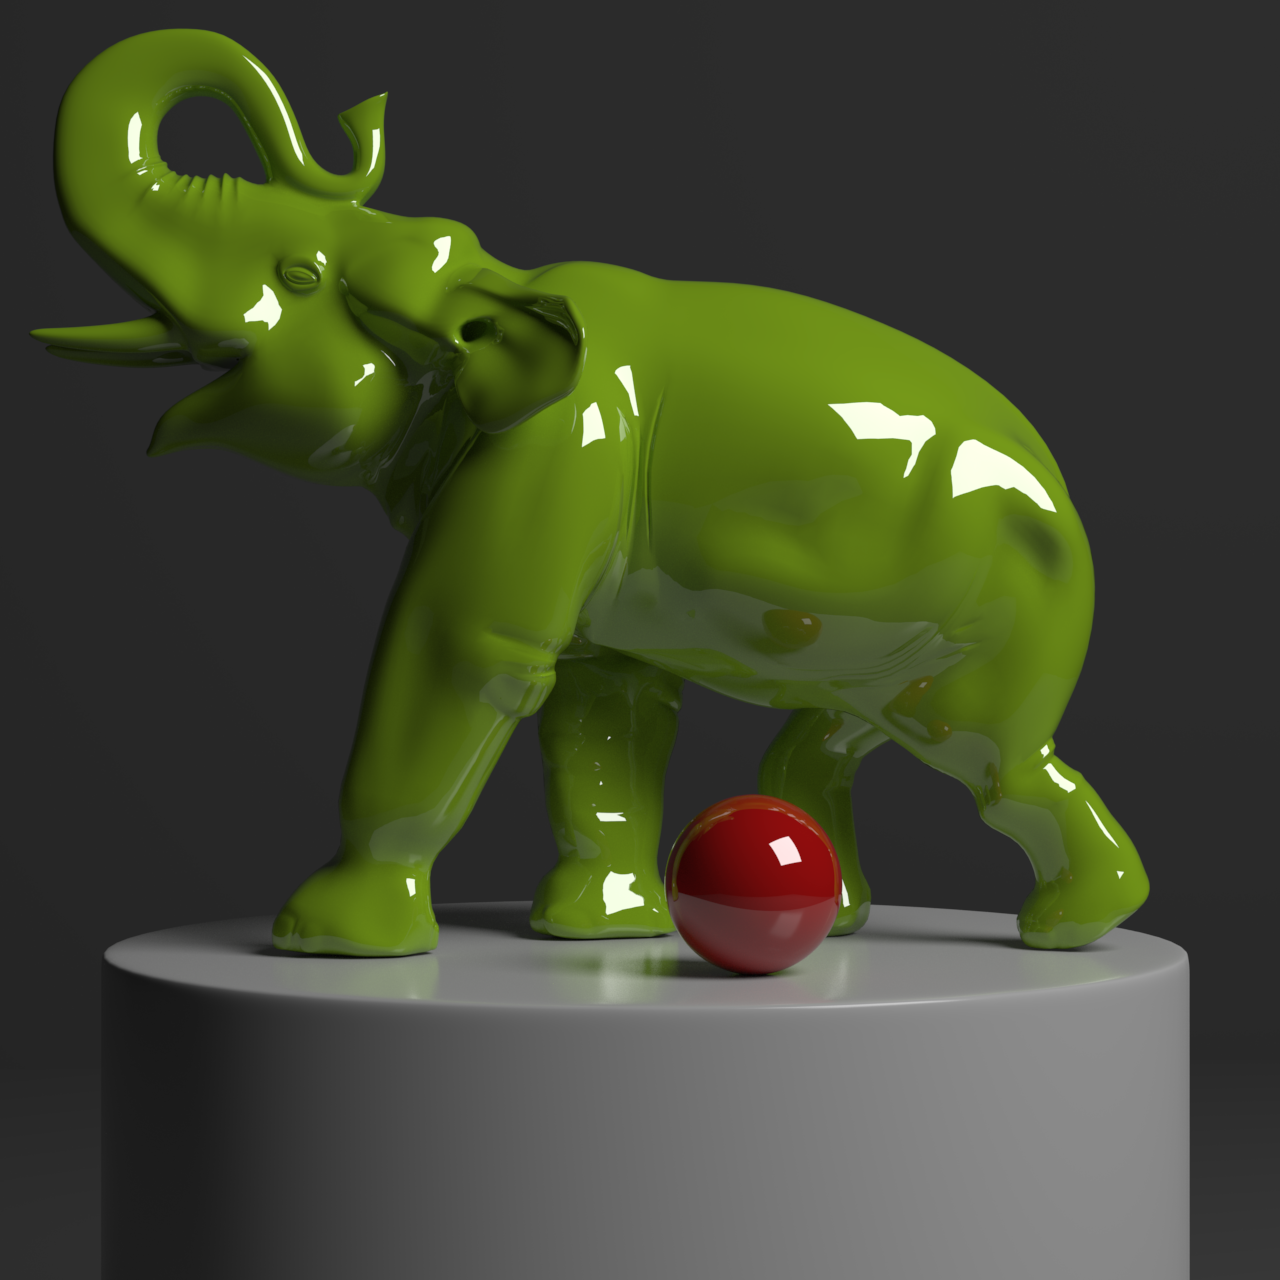
That's why we added an Extra Samples param. It's already set by default to 1 and we can leave it at that if we don't have fireflies or noise in the scene. Set it to 0 if you have some super sampling like for DOF or motion blur, there it will perform better than usual materials because with many samples the material convergence will go on pair with DOF or MoBlur convergence (while other materials will be over sampled). Below with 0 and 2 extra samples respectively, it's mainly some more noise on the indirect diffuse like on the bottom belly and on the paws in penumbra.

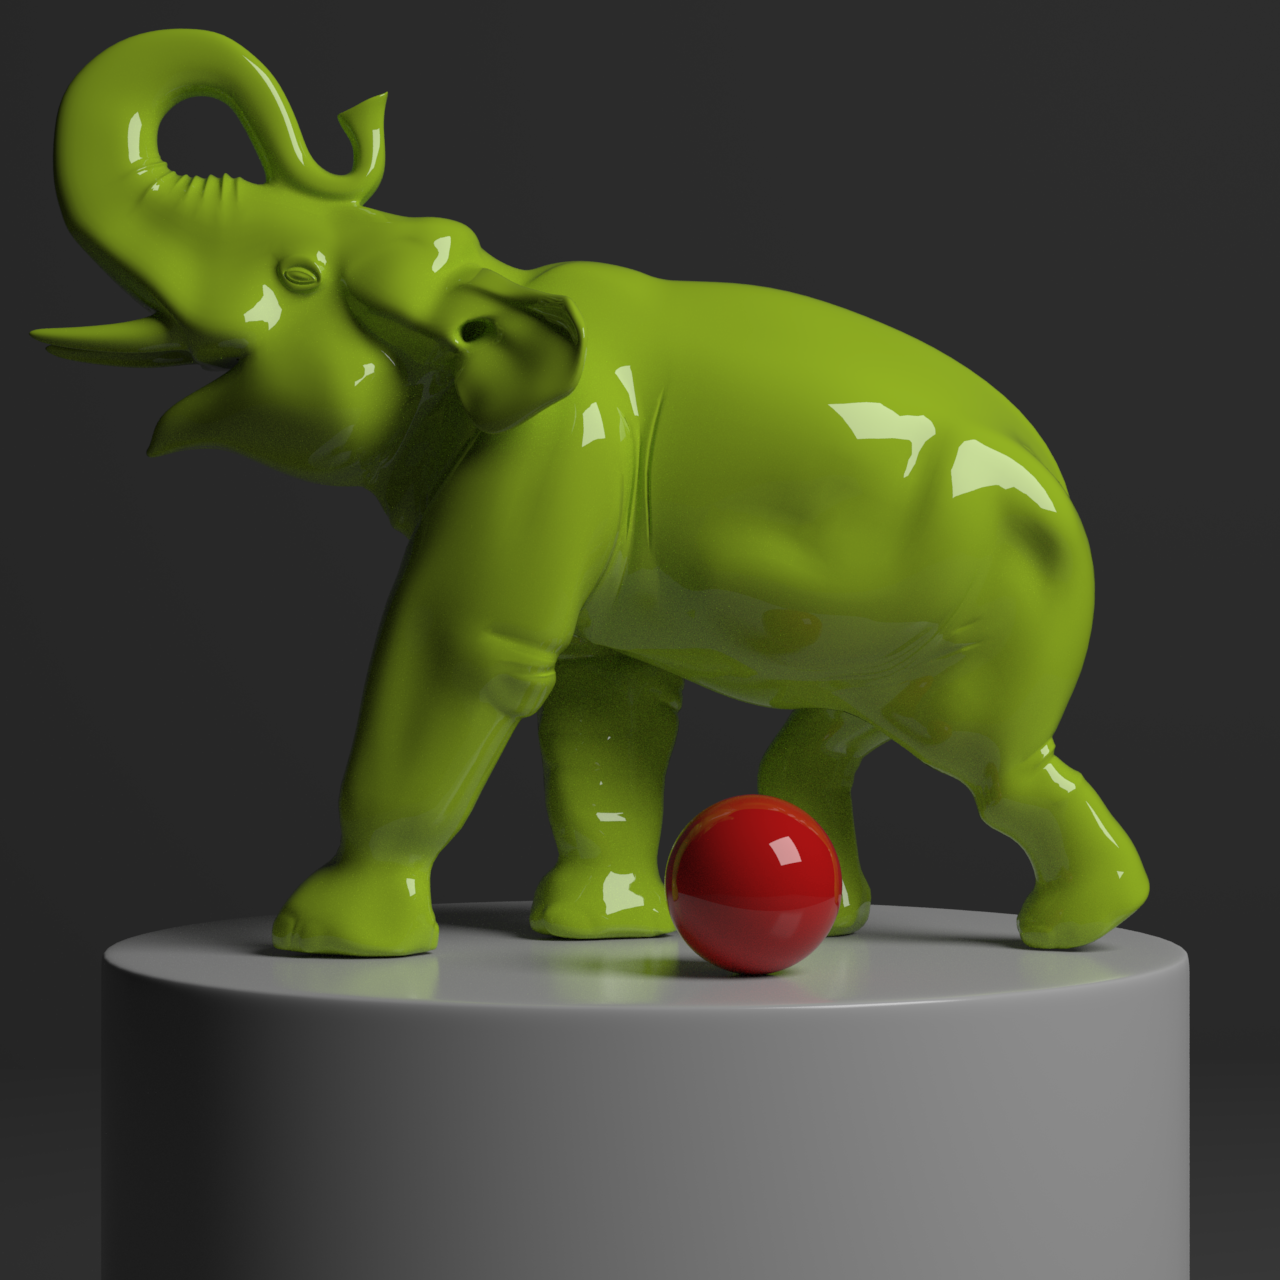
Below for example just because we use everywhere DiffuseInterfaced we leave the extra samples at 0 while cranking up the AA samples to 8 .. it takes less or more the same time a non stochastic material setup would take with AA at 4 but edge shadow etc. are smoother with 8 AAs and so it would be for DOF and/or MoBlur.
Keywords :
interfacet lambert, lambert, interfaced, oren-nayar, diffuse, diffuse model, arnold, arnoldrender, arnoldrenderer, shader, material, reflect, reflection, microfacet, arnold shaders, arnold download, arnold materials, arnold renderer materials




This is amazing, I’m shocked how much contrast is gained back with your shader!